Flutter Opacity explained

This article is about opacity widget, its performance and inner functioning. Also, I will tell why AnimatedOpacity & FadeTransition are more efficient for animations. Let's go!
How opacity works
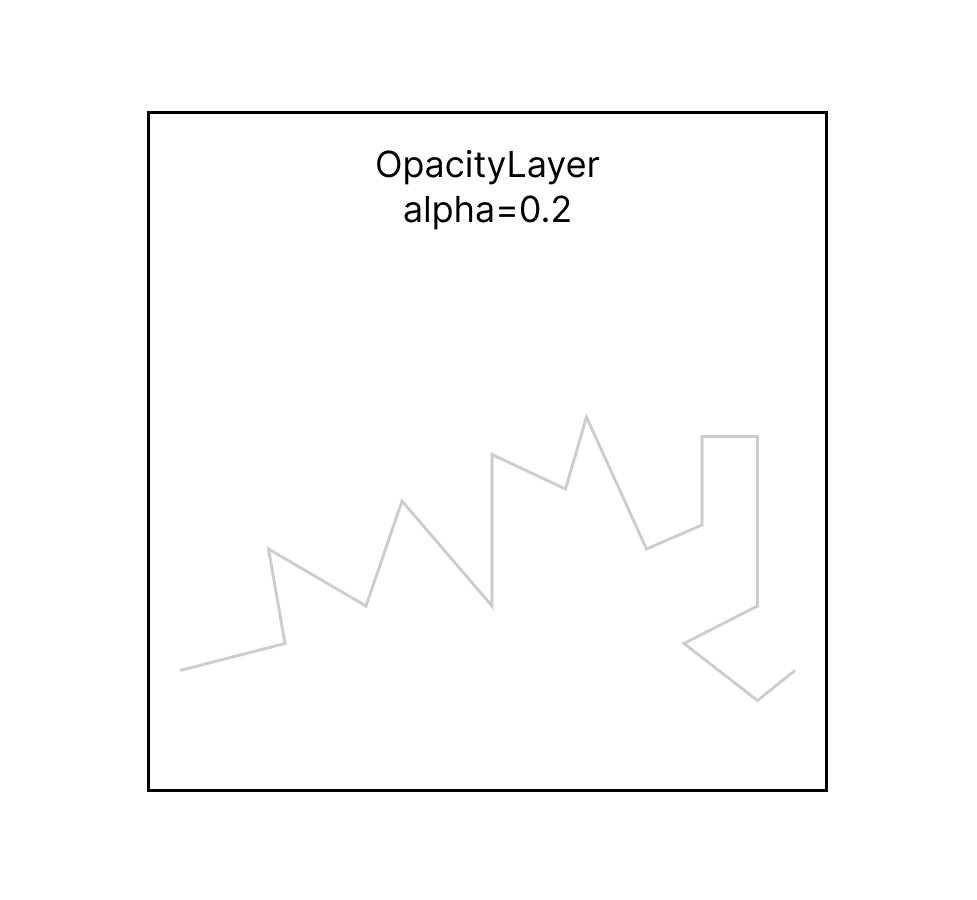
On the lowest level there is an OpacityLayer, which applies opacity to its "subtree" (read my article about layers and repaint boundaries). Opacity, itself is a SingleChildRenderObjectWidget that has a hook updateRenderObject. This is called by the RenderObjectElement in its performRebuild.
When the opacity value is modified, a new widget instance is created. The Framework attempts to match it with an existing element. If the match is successful, the widget configuration will be updated. This update causes the updateRenderObject method in the Opacity widget to be called, which sets the opacity value to the render object, which eventually changes the alpha value of OpacityLayer.
When widget is firstly instantiated, its associated value passed directly to render object's constructor. It is important to note that this does not prompt any children to repaint.
Performance Considerations
Opacity itself is really costly. There are several reasons for this:
- Offscreen Buffering: When using opacity, the engine may need to create an offscreen buffer. The content inside the opacity widget is first drawn into this offscreen buffer, and then this buffer is composited onto the main screen with the specified opacity. This offscreen rendering can be more expensive than drawing content directly onto the screen, especially if it's done frequently or for large areas.
- Blending: When you're using an opacity less than 1.0, the engine needs to perform blending. Blending combines the colors of the pixels in the offscreen buffer (containing the content of the
Opacitywidget) with the pixels of the underlying content on the main screen. This blending operation, while optimized, still adds some computational overhead, especially when done for many pixels across many frames. - Memory: Offscreen buffers consume memory. If there are multiple opacity layers, or if the layers are large, memory usage can increase significantly.
Despite these potential costs, the Flutter team has put a lot of effort into optimizing these operations. In many cases, the impact on performance is negligible. However, when optimizing an app, especially with complex animations or when targeting lower-end devices, it's important to be aware of these costs.
To optimize:
- Limit Overuse: Be cautious about using opacity extensively, especially within scrolling content or frequent animations.
- Use Visibility: If you want to hide a widget, consider using the
Visibilitywidget if the transition does not need to be animated. - Analyze with DevTools: Use Flutter DevTools to profile the app's rendering performance and pinpoint potential bottlenecks.
- Use debug flags: There is a global variable
debugDisableOpacityLayersthat you can set to true in order to see how your app behaves when opacity is removed.
Why you shouldn't use Opacity for animations
There are two main widgets that make opacity animations more efficient: FadeTransition and AnimatedOpacity(uses FadeTransition under the hood). But what differs them from standard Opacity widget?
Well, FadeTransition still uses the same OpacityLayer. The render object that operates it is called RenderAnimatedOpacity (for RenderBox) and RenderSliverAnimatedOpacity (for RenderSliver).
The key difference is that instead of accepting opacity value it uses Animation<double>. Guess, why is it so important?
Imagine creating a decorated box animation using Opacity. Start by creating an animation controller, tween, and animation. Next, place the desired widget into AnimatedBuilder and set the opacity value as animation.value. This causes the entire subtree to be rebuilt multiple times during the animation.
Of course, these rebuilds are harmful and can be avoided. Instead of using the AnimatedBuilder in combination with Opacity, use FadeTransition and pass the animation you created earlier to it. FadeTransition behaves a bit different.
The render object used by FadeTransition is given this animation. It creates a listener which just updates the alpha value of OpacityLayer without rebuilding and repainting. So, in technical terms, it does not mark element as dirty, therefore not triggering any rebuilds within its subtree.
Some hints(excerpt from documentation)
If only a single Image or Color needs to be composited with an opacity between 0.0 and 1.0, it's much faster to directly use them without Opacity widgets.
For example, Container(color: Color.fromRGBO(255, 0, 0, 0.5)) is much faster than Opacity(opacity: 0.5, child: Container(color: Colors.red)).
The following example draws an Image with 0.5 opacity without using Opacity.
Image.network(
  'https://raw.githubusercontent.com/flutter/assets-for-api-docs/master/packages/diagrams/assets/blend_mode_destination.jpeg',
  color: const Color.fromRGBO(255, 255, 255, 0.5),
  colorBlendMode: BlendMode.modulate
)
Directly drawing an Image or Color with opacity is faster than using Opacity on top of them because Opacity could apply the opacity to a group of widgets and therefore a costly offscreen buffer will be used. Drawing content into the offscreen buffer may also trigger render target switches and such switching is particularly slow in older GPUs.
Thanks for reading me!
Consider subscribing to my blog and my telegram channel. Of course, don't forget to read my articles and keep learning new things. See you.

