Sticky headers in Flutter


If you’ve landed here, you likely already know what sticky headers are. But if not, here’s a quick GIF to show you what will build today:

Sticky headers are great for keeping key navigation or important information accessible while users scroll through an app. In this article, I’ll show you the best and most efficient way to create them.
To achieve this behavior, we’ll use slivers, a powerful tool in Flutter for creating highly performant scrolling experiences. Here’s an overview of the key widgets for this task:
- CustomScrollView: A widget that organizes and renders a list of slivers in the scrollable area. It’s the foundation for creating custom scrolling effects.
- SliverMainAxisGroup: A sliver that groups child slivers along the main axis.
- SliverPersistentHeader (e.g., SliverAppBar): A versatile sliver that can overlap other slivers and remain pinned, floating, or snapping into place during scrolling.
Let's create some mock data:
final sections = List<Section>.generate(
  10,
  (index) => Section(
    title: 'Section $index',
    items: List<SectionItem>.generate(
      5,
      (index) => SectionItem(
        title: 'Item $index',
        description: 'Description $index',
      ),
    ),
  ),
);

class Section {
  const Section({required this.title, required this.items});

  final String title;
  final List<SectionItem> items;
}

class SectionItem {
  const SectionItem({required this.title, required this.description});

  final String title;
  final String description;
}
Mock data for sections
Now, we can actually implement these sections with sticky headers:
Scaffold(
backgroundColor: Theme.of(context).colorScheme.surface,
body: CustomScrollView(
slivers: [
for (final section in sections)
SliverMainAxisGroup(
key: ValueKey(section),
slivers: [
SliverAppBar(
title: Text(section.title),
pinned: true,
),
SliverList(
delegate: SliverChildBuilderDelegate(
childCount: section.items.length,
(context, index) {
final item = section.items[index];
return ListTile(
title: Text(item.title),
subtitle: Text(item.description),
);
},
),
),
],
),
],
),
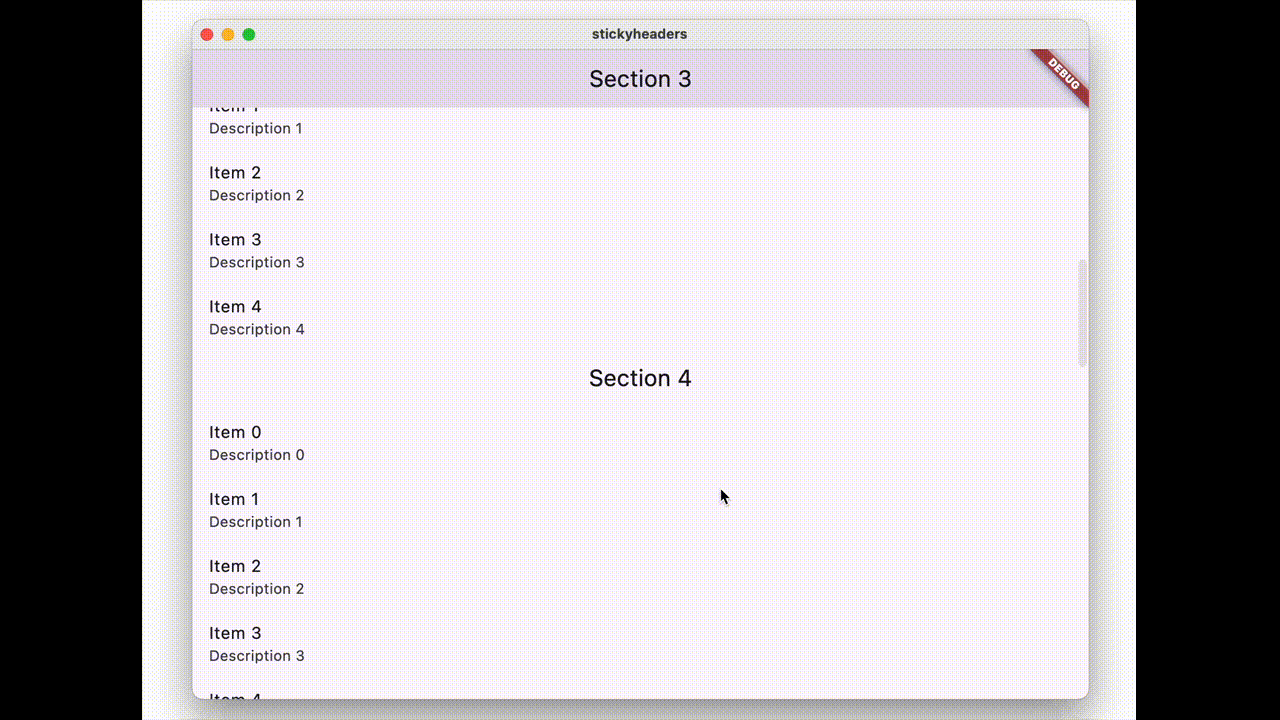
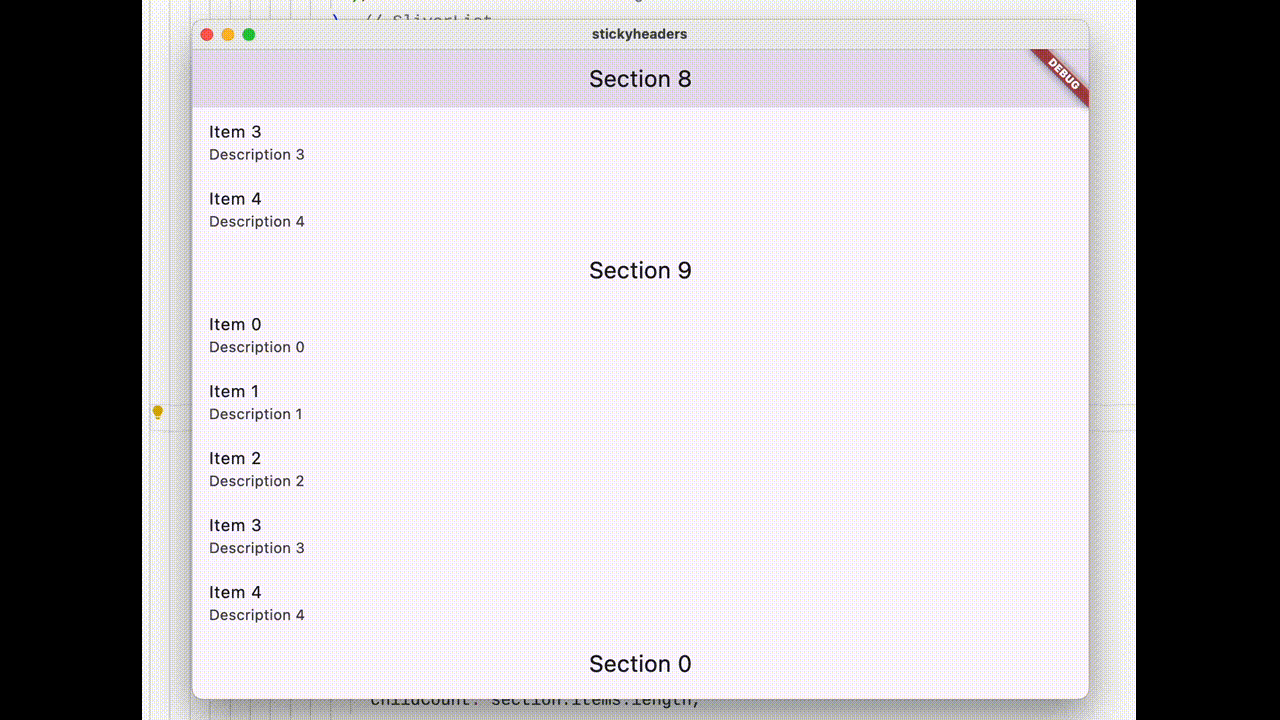
)Here, I’ve used the SliverAppBar and SliverList within a single SliverMainAxisGroup. This setup ensures the SliverAppBar stays correctly pinned to a specific section as it’s confined to that group by SliverMainAxisGroup and so won’t overlap with other groups.
This approach is highly efficient because list items are created lazily, eliminating the need for heavy computations to render sticky headers. Another benefit of slivers is their flexibility—you can easily add other scrollable widgets, like grid views or additional lists, above or below these sections.
Additionally, you can create custom widgets using SliverPersistentHeader instead of SliverAppBar, though the latter is much simpler to implement.
Let's add additional grid sections:
for (final section in gridSections)
  SliverMainAxisGroup(
    key: ValueKey(section),
    slivers: [
      SliverAppBar(
        title: Text(section.title),
        pinned: true,
      ),
      SliverGrid(
        gridDelegate: const SliverGridDelegateWithFixedCrossAxisCount(
          crossAxisCount: 2,
          childAspectRatio: 5
        ),
        delegate: SliverChildBuilderDelegate(
          (context, index) {
            final item = section.items[index];
            return ListTile(
              title: Text(item.title),
              subtitle: Text(item.description),
            );
          },
          childCount: section.items.length,
        ),
      ),
    ],
  ),
And this is how it looks like:
EOF
Thanks for reading this small article! See you again. Btw, here's a full working sample: